Monday, November 30, 2020

Favorite Finish Monthly Linkup - November 2020

Welcome to November's Favorite Finish Monthly Linkup!


I hope that the start to the holiday season is going well and everyone is staying safe and healthy.   

My favorite finish this month was the Awning quilt I made to highlight Heather Black's new fabric collection, Sketchbook.  It was also the first time in a while I had sewn curves.


Just a few reminders...


The Meadow Mist Designs pattern sale ends tonight, buy 2 patterns, get 1 free! 

Use coupon code BUY2GET1
Digital patternsprint patterns, or a mixture of both.

BONUS - All print patterns ship for free during this sale! (US only)

Note: The code (same code BUY2GET1) will also work to buy 4 patterns and get 2 free! The sale runs through midnight (EST) on Monday, November 30th.


If you are looking for some ideas of what to put on your holiday wish list, here are some in this blog post.


Ready for the party?  

Here is a reminder of the party details:
  • The linky party will open at 12:01am EST on the last day of the month and will be open for 5 days, through the 4th at 11:59 pm EST.
  • For instructions on how to link up blog, Instagram, or pictures from your computer (new - there is now a way to just upload a picture without a web link) to the party, click here.  
  • If linking a blog post, I ask that you please add a link back to the party (and the button graphic if you would like).
  • Please visit at least 3 other links (and preferably leave comments) to share the love and celebration :)
I hope you join in by checking out the posts or linking your favorite finish of the month!

You are invited to the Inlinkz link party!

Click here to enter


Wednesday, November 25, 2020

Thanksgiving 2020 Sale

I hope that you will be enjoying the holidays this week!


To celebrate, I am offering a special discount in my pattern shop (this code will not work in my Etsy shop). 

Buy 2 patterns, get 1 free!  
Use coupon code BUY2GET1
Digital patterns, print patterns, or a mixture of both.

BONUS - All print patterns ship for free during this sale! (US only)


I just restocked my printed patterns with favorites that had sold out and added print version listings for most of my recent pattern releases, you can see all of the available printed patterns here.

Note:  The code (same code BUY2GET1) will also work to buy 4 patterns and get 2 free!

The sale starts right now and will run through midnight (EST) on Monday, November 30th.

Thank you so much for your support throughout the year!


Sunday, November 22, 2020

Quilter's Holiday Wish List 2020

My husband asked me the other day what I would like for Christmas, so I spent some time hunting around Amazon, Etsy, Connecting Threads, and the Fat Quarter Shop putting together a list of my favorites so I thought I might also provide you some ideas on what to ask for during this holiday season.


FABRIC

Let's start with one of the most fun things to unwrap..fabric!  Here are some of my picks.  I just got a Kismet bundle and the SMOL bundle in the mail (the colors are beautiful!) and stocked back up on the striped print (which is my favorite print to use for a stripey binding). affiliate links


9 - Camden Road quilt kit
12 - Geometric Garden quilt kit


NOTIONS

I always find Christmas a great time to ask for my favorite notions as stocking stuffers.  Included in this list is my pincushion, thimble, needles (hand and machine), and more. affiliate links


9 - 50 Organ brand sewing machine needles 80/12


You can find even more quilting and sewing material recommendations on my Meadow Mist Designs Amazon pages here and here.

On Wednesday I will be sharing the Meadow Mist Designs Thanksgiving Sale deals :)


Note:  All of these links are affiliate links, meaning that if you click on an item and make a purchase I will earn a small commission.  This does not impact the price you pay.  Thank you for your support.


Monday, November 16, 2020

How to: Glue Baste Curves


How do you like to baste your curved blocks to prep them for sewing? Do you pin? Do you use glue? Do you not baste at all?

I was a pinner and I probably over-pinned.  I would rather take the time to make sure the edges of the fabric pieces were aligned and set before sewing than trying to align them while stitching them together.  For the blocks above I would probably have used up to 20 pins.  This was not only time consuming, but while I was sewing I had to make sure my fabric I was keeping a 1/4" seam allowance while taking out each pin before I sewed over it.

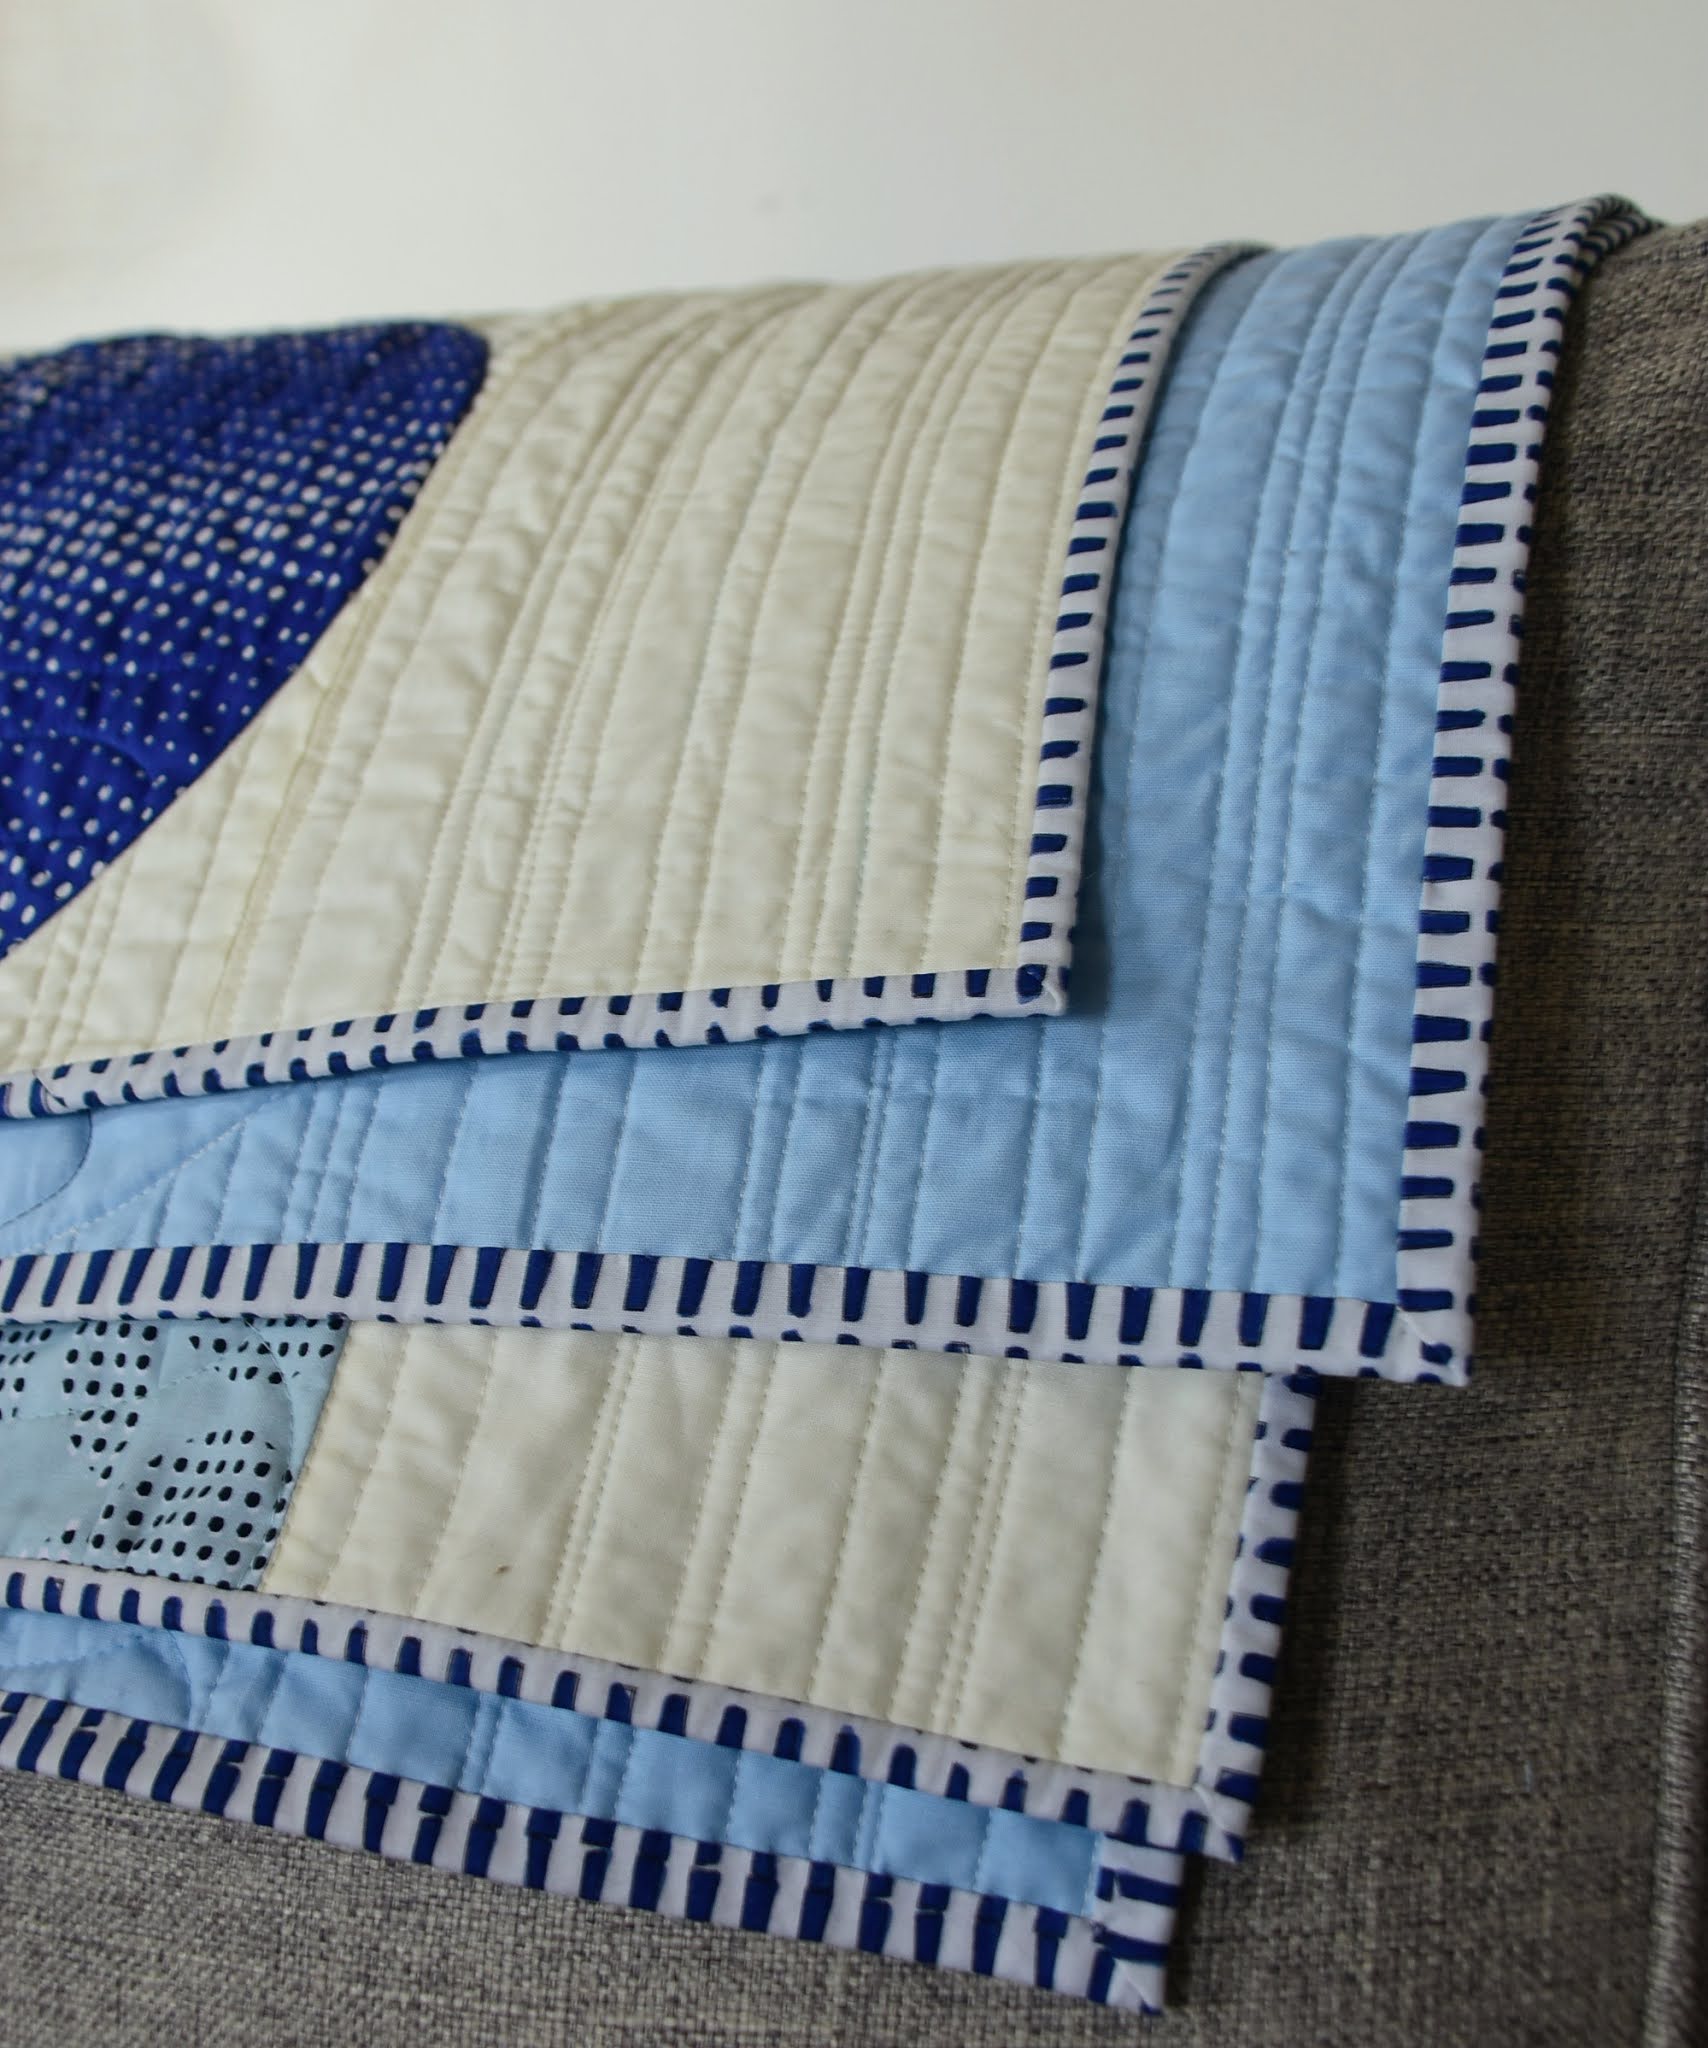
I had used glue basting for bindings and EPP (English paper piecing) so I decided to give glue basting a try and I fell in love.  I thought I would put together a short tutorial on how I glue basted my Awning blocks but this technique will work on Drunkard's Path blocks, or really any seam (curved or straight).

My reasons for falling in love with glue basting:
  • I found glue basting to be quicker than pin basting both during the basting and during the sewing.
  • I also found glue basting to be more accurate than pin basting with the convex and concave fabric edges staying aligned better.
  • No tucks!  I sewed all 30 half moon shaped blocks for Awning without a single tuck or need to unsew!


TOOLS FOR GLUE BASTING

To glue baste curves, you need just enough glue to hold the fabric together while sewing.  I would recommend a glue stick type glue over an Elmer's type glue because it is dryer and easier to apply just a small amount.

My favorite glue pen is by Sewline.  You can find these glue pens in your local quilt shop, on Amazon, or on Etsy.  I purchase mine on Etsy as I have found the best prices there. 


Sewline glue pen

Sewline 6-pack glue refill


STEP 1 - PREP YOUR FABRICS

To start glue basting, fold and mark your two fabric pieces at the center and quarters by finger pressing, ironing, or using a removable marking device.  I like to use my iron to make the creases.


STEP 2 - GLUE THE CENTER

I place my two fabric pieces together, with the convex piece on the bottom and the concave piece on top, right sides together.

I start glue basting by using just a dab of glue from my glue pen to adhere the centers of the two pieces.  


STEP 3 - BASTE FROM CENTER OUT

I next add a little glue right along the edge of the convex fabric piece from the center to one of the quarter markings.  I try to keep the glue to less than 1/4" from the edge at the center.  

The glue can get on the mat behind the block so you may wish to use a piece of paper or extra mat you an easily wash behind the block.


I slowly ease the two fabrics together, matching the edges and pressing to adhere, from the center of the block out to the quarter mark. 

Continue to baste the other sections of the block in the same manner. 


If you are using just a little glue stick there is no need to iron to dry or set the glue, it should dry quickly.


STEP 4 - SEW YOUR BLOCK

Now that your block is basted, you can go over to the sewing machine and sew the pieces together without having to worry about pulling out pins (or sewing over them) or keeping the fabric piece edges aligned.

Once you have sewn your curved block, press the seam (the direction you like to press or what is indicated in the pattern.


I hope that I have inspired you to glue basting a chance, I have definitely converted from pinning or gluing. Give it a chance for a block or two to see you like it.

If you want to try making your own half moon blocks, you can get the Awning Pattern from my pattern shop. 


*affiliate links - This post contains affiliate links. If you purchase items through the links I will earn a very small commission. You will not pay more when buying a product through my link


Friday, November 13, 2020

Awning Quilt Pattern & Sketchbook Fabric

I have had the honor of calling Heather Black of Quiltachusetts a quilting friend for many years now. I love her innovative quilt designs and color palettes.

Heather just launched her first fabric collection with Paintbrush Studios Fabric called Sketchbook.  The colors and designs are very Heather.  She has such a way of combining colors that I would not think to put together, but they work so well.  

I got to play with Sketchbook and came up with my new quilt pattern, AwningAwning is available in my pattern shop for a special introductory price through Tuesday, Nov. 17th.


SKETCHBOOK FABRICS

I would describe a lot of the prints in the Sketchbook collection as large scale blenders, with some of the prints having a little larger scale than a typical blender.  Here is a picture of a fat quarter bundle of the entire line (available in the Quiltachusetts shop):

I selected six of the prints (plus one additional for the binding) from the collection and combined them with Painter's Palette Solid in Snow also by Paintbrush Studios.  I was excited to figure out that I even had matching Aurifil thread for each fabric!


AWNING QUILT PATTERN

I took inspiration from the prints that looked like half moon/bowl shapes of the orange and charcoal fabrics shown above.  After playing around with the half moon shape in EQ8, I came up with this giant scallop design I am calling Awning.


The half circle blocks in the quilt are large so the curves are not too difficult to sew (the larger the curve, usually the easier it is to sew).  I used glue basting for the first time with these blocks and I loved it.  I found that it was quicker to baste, quicker to sew, and I did not get a single tuck :)  I will be sharing a quick glue basting tutorial on Monday.

Once the blocks were finished, the quilt came together pretty quickly and it was soon time for the quilting.  I used matching Aurifil thread for each section of the quilt to give the quilt texture but not take away from the prints or the piecing.

I settled pretty quickly on wanting to use straight line quilting in the cream background and used a combination of walking foot and ruler quilting.  I could not decide what I wanted to put into the awning part of the quilt.  I wanted to leave the awning portion less densely quilted so it stood out more.  Yvonne from Quilting Jetgirl suggested a large loop design which worked perfectly.  


I have been trying to be a little more creative with my photography, so after I got a flat shot outside and a couple of detail shots, I took the quilt around my house for some styled shots. 


If you would like to make your own Awning quilt, you can get a digital, pdf version of the Awning quilt pattern in my pattern shop.

Awning is on sale for an introductory price of $9.50 in my shop through Tuesday, Nov. 17th.

For additional savings in the shop - Use the coupon code "TWOPATTERNS" for $2 off 2 patterns and "THREEPATTERNS" for $4 off 3 patterns.

If you decide to make an Awning quilt, please share your progress and finished pictures on social media #AwningQuilt and be sure to tag me @MeadowMistDesigns :)


MANY THANKS

I would like to thank Yvonne @Quilting Jetgirl for her amazing tech editing skills and quilting ideas.  

I want to also thank Heather for allowing me to play with her fabrics, I had such fun making a quilt that was different than what I normally make.


ALTERNATIVE COLORWAYS

One of my most favorite things about designing quilts is seeing how the design looks in different colors and prints.  Here were some of my favorite alternate colorways with Awning including a graphic two-tone, an ombre, and a version with a gray background.  Which is your favorite?


Thursday, November 5, 2020

Morewood Mystery ++ Petal Units

Are you ready for the next set of Morewood Mystery Instructions?


Welcome to the November instructions for the Morewood Mystery Quilt along. There is plenty of time to join in on the quilt along!  

You can find all of the information about the Morewood Mystery, including schedule, past instructions, links to the Facebook group, sneak peek, and more at the Morewood Mystery Page.

We are going to be making some Petal Units (and more HST units) this month.  Now that the Mystery Quilt has ended, you can find a easy to print, full version of the pattern for sale in my pattern shop.


  Petal Units


Make 30 petal units.

1. Arrange the following units and pieces according to the diagram.
2 A/bg HST units 3" x 3"
1 single Irish unit 3" x 3"
1 fabric A square 3" x 3"

2. Sew pieces and blocks into rows pressing seams open or away from the HST units. Each row
should measure 3" x 5 ½".

3. Sew the rows together, pressing the seam open, to make a petal unit 5 ½" x 5 ½". Repeat to make a
total of 30 petal units.


Half Square Triangle (HST) Units (more)


Combine 15 fabric C squares 5" x 5" and 15 bg squares 5" x 5" to make 30 C/bg HST units 4 ½" x 4 ½".

1. Place a fabric C square 5" x 5" and a bg fabric square 5" x 5" right sides together. Draw a diagonal
line using a removable marking device on the back of the lighter square (shown as the solid line).

2. Sew a ¼" seam on either side of the solid line (shown as the dotted lines). Cut on the solid line and
press seams open or toward the darker fabric.

3. Trim each C/bg HST unit to 4 ½" x 4 ½". Repeat to make a total of 30 C/bg HST units.
Make


Many thanks to the generous sponsors of the Morewood Mystery Quilt!


Any questions?  Leave them in a comment below or post them to our Facebook group page.  I look forward to seeing everyone's units.  The next set of instructions will be published on the first Thursday of December, the 3rd.