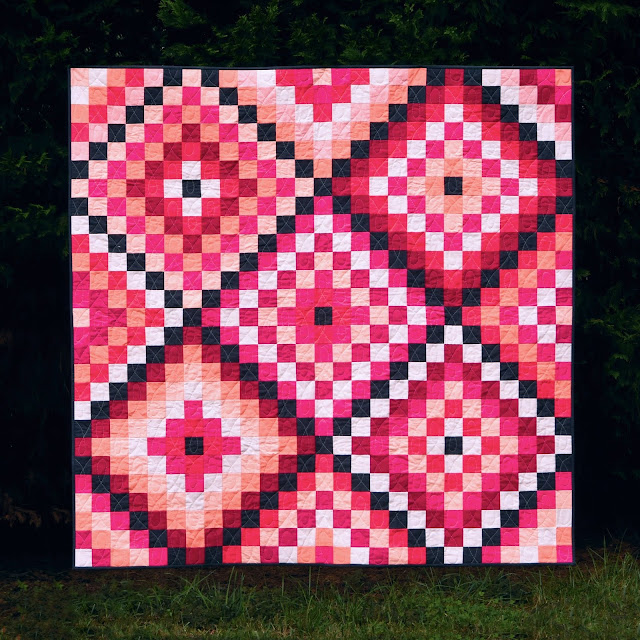
This pattern is really more of a formula and general guidelines so feel free to change up the design and sizes to make the pattern fit your scraps and needs.
When designing this quilt I wanted to make a lap sized quilt for my co-worker's new foster child (I make each of her foster children a quilt), about 50" x 60".
For my version I used scraps from my pink/red scrap bin along with some extra layer cake slices I had lying around. I really liked being able to use larger sized scraps in the design so I could use fabric with larger scale prints.
To design the quilt, I started with some notebook paper and figured out the dimensions...
Material Requirements
Scraps: a bunch of scraps 10" wide, I used about 26 scrap pieces 4 ½" to 12 ½" tall x 10" wide
Outer stripe for middle areas (white in quilt): ⅝ yard
Inner stripe for middle areas: ½ yard
Binding: ½ yard (6 strips 2 ½" x WOF)
Scrappy Columns
1. Lay out scraps into 3 columns of about 58"- 60" each. When you lay out your scraps, they will be longer than 60", but when sewn together each fabric piece will shrink ½" in height due to seam allowances. My scraps were between 4 ½" to 12 ½" tall and I had between 8 and 10 fabric pieces per column.
2. Sew scraps into the three columns, pressing seams in your favorite direction. I like to press my seams open.
Middle Columns
This is where the 58"-60" height of the scrappy columns is helpful. With that length, the stripes within the middle columns can be made using a full width of fabric (WOF) sewn to a half WOF strip so the fabric is used very efficiently with little waste.
1. Cut 6 strips 3" x WOF of the outer stripe fabric (white in the cover quilt).
a. Cut 2 of the strips in half to make 4 half strips and sew each half to a full width strip to make 4 outer stripes, each about 60" long.
2. Cut 3 strips 4 ½" x WOF of the inner stripe fabric (dark pink print in the cover quilt)
a. Cut 1 strip in half to make 2 half strips and sew each half to a full width strip to make 2 inner stripes, each about 60" long.
3. Sew two outer stripes and one inner stripe together such that the outer stripes sandwich the inner stripe. Repeat to make 2 middle columns.
Quilt Top Assembly
1. Sew the three scrappy columns and the two middle areas together to create the quilt top. Trim the top and bottom of the quilt top even and your quilt top is finished! Super easy, a great design to use up some scraps, and no seams to match :)
For my quilt, I quilted the scrappy columns with a stipple, the white stripes with am elongated swirl design, and the middle dark pink strips with a gentle back and forth design.
For the backing, I used a Loominous print from Anna Maria Horner. It is super light weight cotton fabric, just a little heavier than a gauze. I was worried at how it would work for the quilt back, but it gives the quilt such a great, soft feel.
I hope that you enjoyed the Pocket Full of Change quilt pattern tutorial :) If you decide you make your own Pocket Full of Change, I would love to see it! You can share on social media as #PocketFullofChangeQuilt and be sure to tag me!
I'm linking up to the Finished or Not Linky Party hosted by Busy Hands Quilts.


