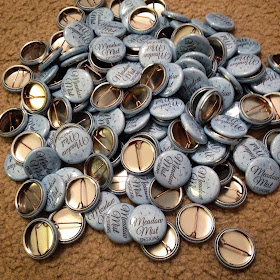
I decided to make a little display for the buttons for my sewing room wall and am posting a short tutorial so you can too! I used the same technique as my Boy Scout Badge Display Tutorial, just using a smaller frame.
For the display you will need:
- A picture frame (I had one old one in my closet but you could buy one from JoAnn's, Hobby Lobby, or the like). I used a frame with an 8" x 10" opening.
- Batting at least as big as the frame plus 2" on each side
- Fabric at least as big as the frame plus 2" on each side.
- Tape (masking tape or duct tape).
I used some batting scraps as my batting and some dark blue fabric as my background so the buttons (most having a lighter background) would have good contrast against the background.
Step 1 - Disassemble the frame keeping the actual frame, the backing material (usually corrugated cardboard), and the hanging hard wear.
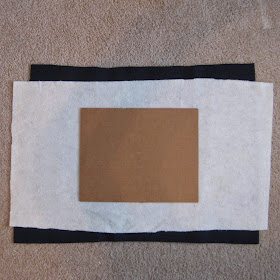
Step 2 - Arrange on the floor in order:
- Fabric right side down
- Batting
- Frame backing
Step 4 - Wrap the batting and fabric around the cardboard and tape in place with tape (similar to recovering a chair cushion). I first taped down a first pair of opposite sides, then the second pair of opposite sides and corners. Don't worry about how the back looks, just make sure that the front does not have any wrinkles.
I am linking up to Link a Finish Friday, Whoop Whoop Friday, Thank Goodness Its Finished Friday, Finish It Up Friday, Fabric Frenzy Friday, Sewjo @ My Go Go Life, and Show Off Saturday @ Sew She Can.
I am also linking up with the linky party Tips and Tutorials Tuesday over at the Late Night Quilter's blog.


